Summary
This page describes how to set up a Gmail.com e-mail account to receive
and send out e-mails using your domain name for the e-mail address rather than Gmail.com e-mail addresses.
Gmail.com emails can be accessed via a web-based system at
mail.google.com/mail/
and these details assume that you are logged into the web-based system.
Details
These details were correct in 2020.
-
Login to your Gmail account at
mail.google.com/mail/
-
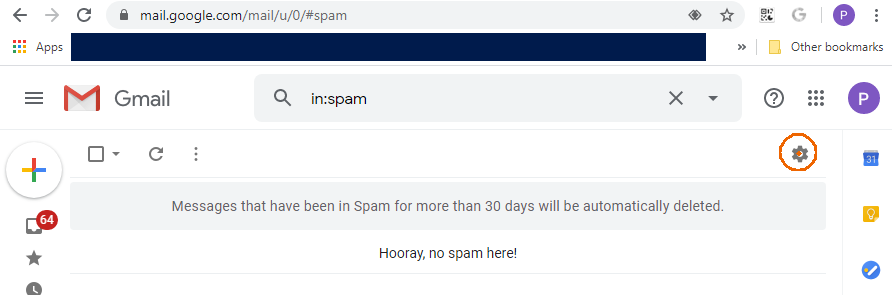
Click on gearwheel near the top right (highlighted with a red circle)
-
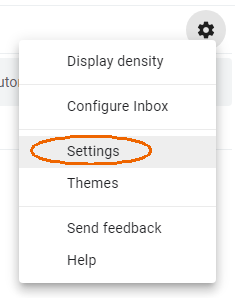
When the menu appears, click on "Settings"
-
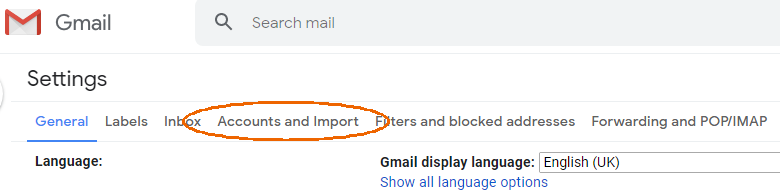
Click on the "Accounts and Import" tab
-
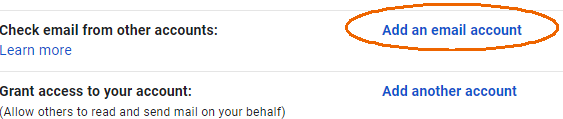
Scroll down to find the "Check email from other accounts:" section and click on the "Add an email account" link
-
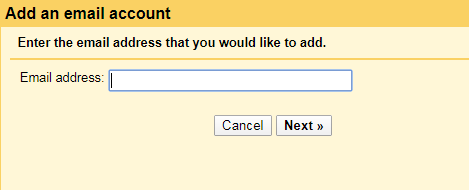
A new window will pop-up.
Enter the email account you want to look at. An example could be "clerk@my-parishcouncil.gov.uk" and click the "Next" button
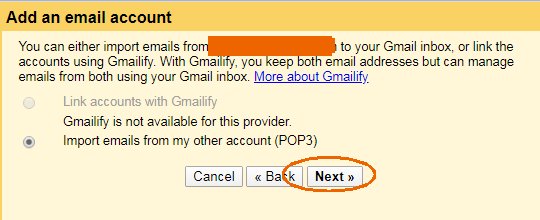
- Ensure that the "Import emails .... (POP3)" line has been selected, then click the "Next" button.
- Enter the parameters:
- Username
- This must be identical to the Email address above (e.g. clerk@my-parishcouncil.gov.uk).
- Password
- This is the password that has been supplied to you. If you supply an incorrect password Gmail will display an error message when you click the "Add Account" button.
- POP Server
- This should be your domain name prefixed with mail (e.g. mail.my-parishcouncil.gov.uk). The domain name is usually the part of your email address after the "@".
- Port
- This should be 110.
- Leave a copy of retrieved messages on the server
- This should be blank. If there is a tick in this box you may be charged for the disk space used for emails left on a HCI Data Ltd server.
The next 3 options are at your discretion. We suggest that "Always use a secure connection (SSL)" is left blank if you are encountering problems.
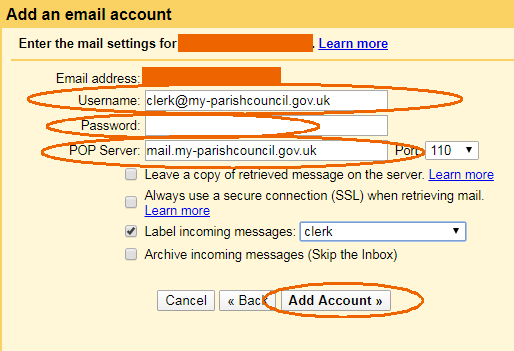
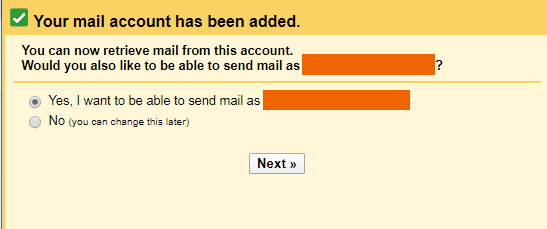
Click the "Add Account" button. If all your parameters are correct, you should see the confirmation webpage.
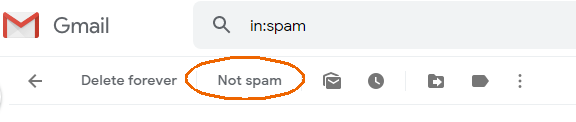
From observations in March 2020 it looks as if Gmail fetches the emails every 45 minutes. Gmail will also put some of the emails into the Spam folder. You will need to review the Spam folder and mark any legitimate emails as "Not spam". This can be done by selecting the legitimate messages and then clicking on the Not spam text in the menu bar.
|